Getting Started with Weebly
Weebly is a first tier site builder that is available at no additional cost for any domain registered with us. You don’t need to know anything about building websites and you don’t have to install any software. You can have your website up in minutes using a powerful drag and drop web site builder with amazing pre-built themes.
We offer several plan levels, but the default that is available to everyone at no extra cost is the Included Plan. You can create up to five pages, and use an integrated shopping cart for up to five different products. There are no bandwidth fees or storage fees.
If you need more pages or more options, you can view information about the other plans on our website.
You can also watch some tutorial videos in the Pair.com Youtube Channel.
- Building a Website with Weebly – Part One
- Building a Website with Weebly – Part Two
- Building a Website with Weebly – Part Three
- Building a Website with Weebly – Part Four
The steps to launch Weebly will be a little different, since the steps in the videos are for pair.com Weebly hosting plans. The steps to launch Weebly for Pair Domains are below.
Launching Weebly
To use Weebly, you don’t need to sign up for a new account, you can just log into your Pair Domains account:
- Log into the Domain Name Management System
- Under the Add a New Site section, select the domain you want to use, and click Get Started
- Select to use the Included plan, and click Continue
- Click the name of the site from Step 2
- Click Launch Weebly Builder
As long as you did not uncheck Keep Old Site Active in Step 3, your current website will stay active until you are ready to make your Weebly site active.
First Launch
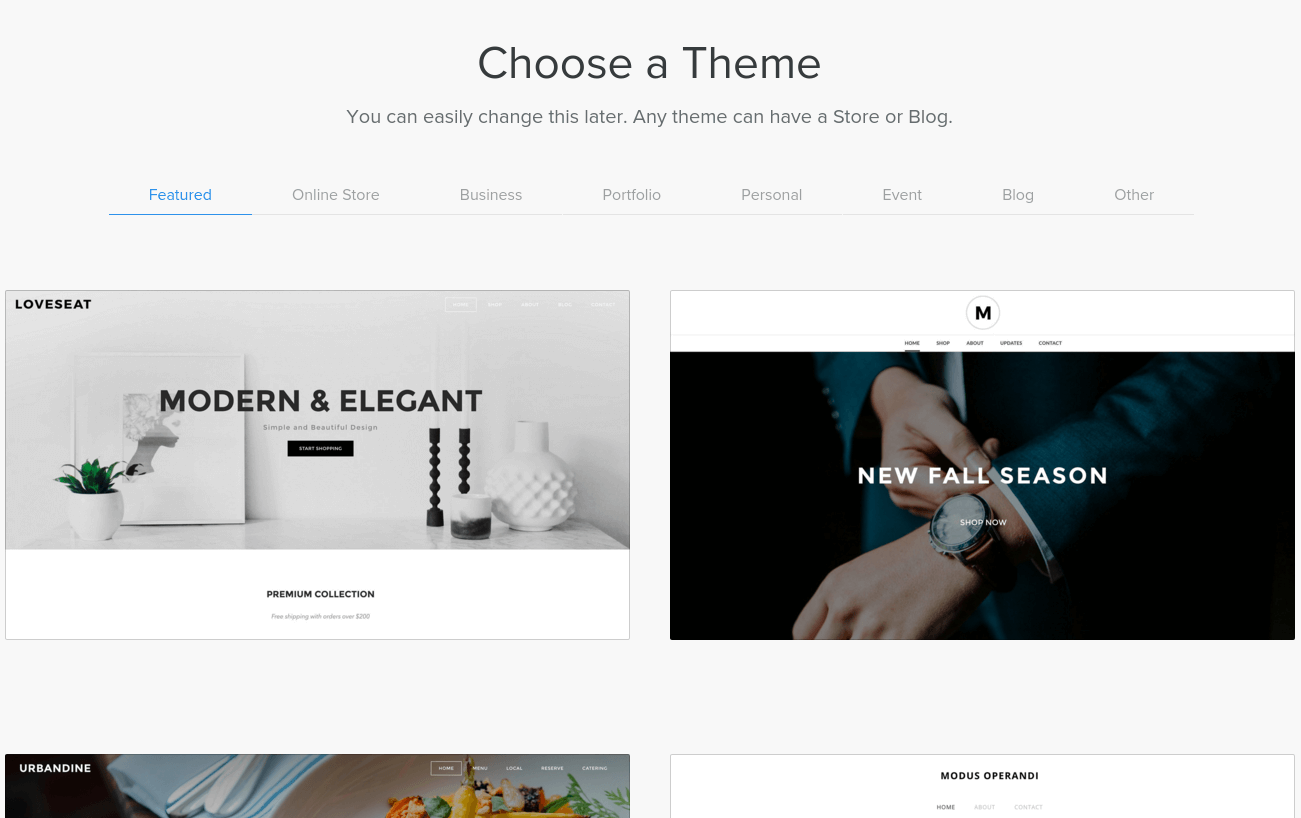
The first time the Site Builder is launched, you will be prompted to choose a Theme. A Theme is a template for the layout, navigation, and appearance for a site. You can change images, texts, colors, and other attributes of a theme. Themes are tailored for the type of site you are building, and there are a few categories of Themes:
- Featured
- Online Store
- Business
- Portfolio
- Personal
- Event
- Blog
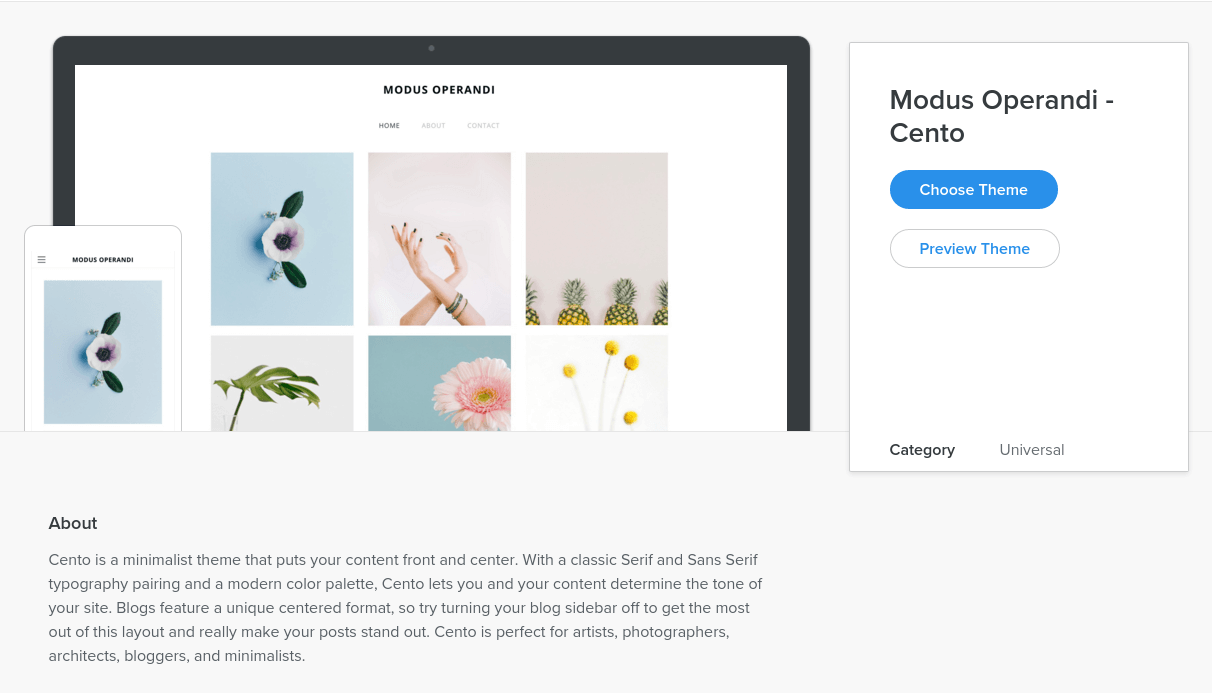
Once you select a theme, an editable preview of your site is shown, with menus at the top of the page and on the left of the page.
For example, we started with the Modus Operandi – Cento theme. The Title of the page is your domain. You can change it by clicking the title and changing the text.
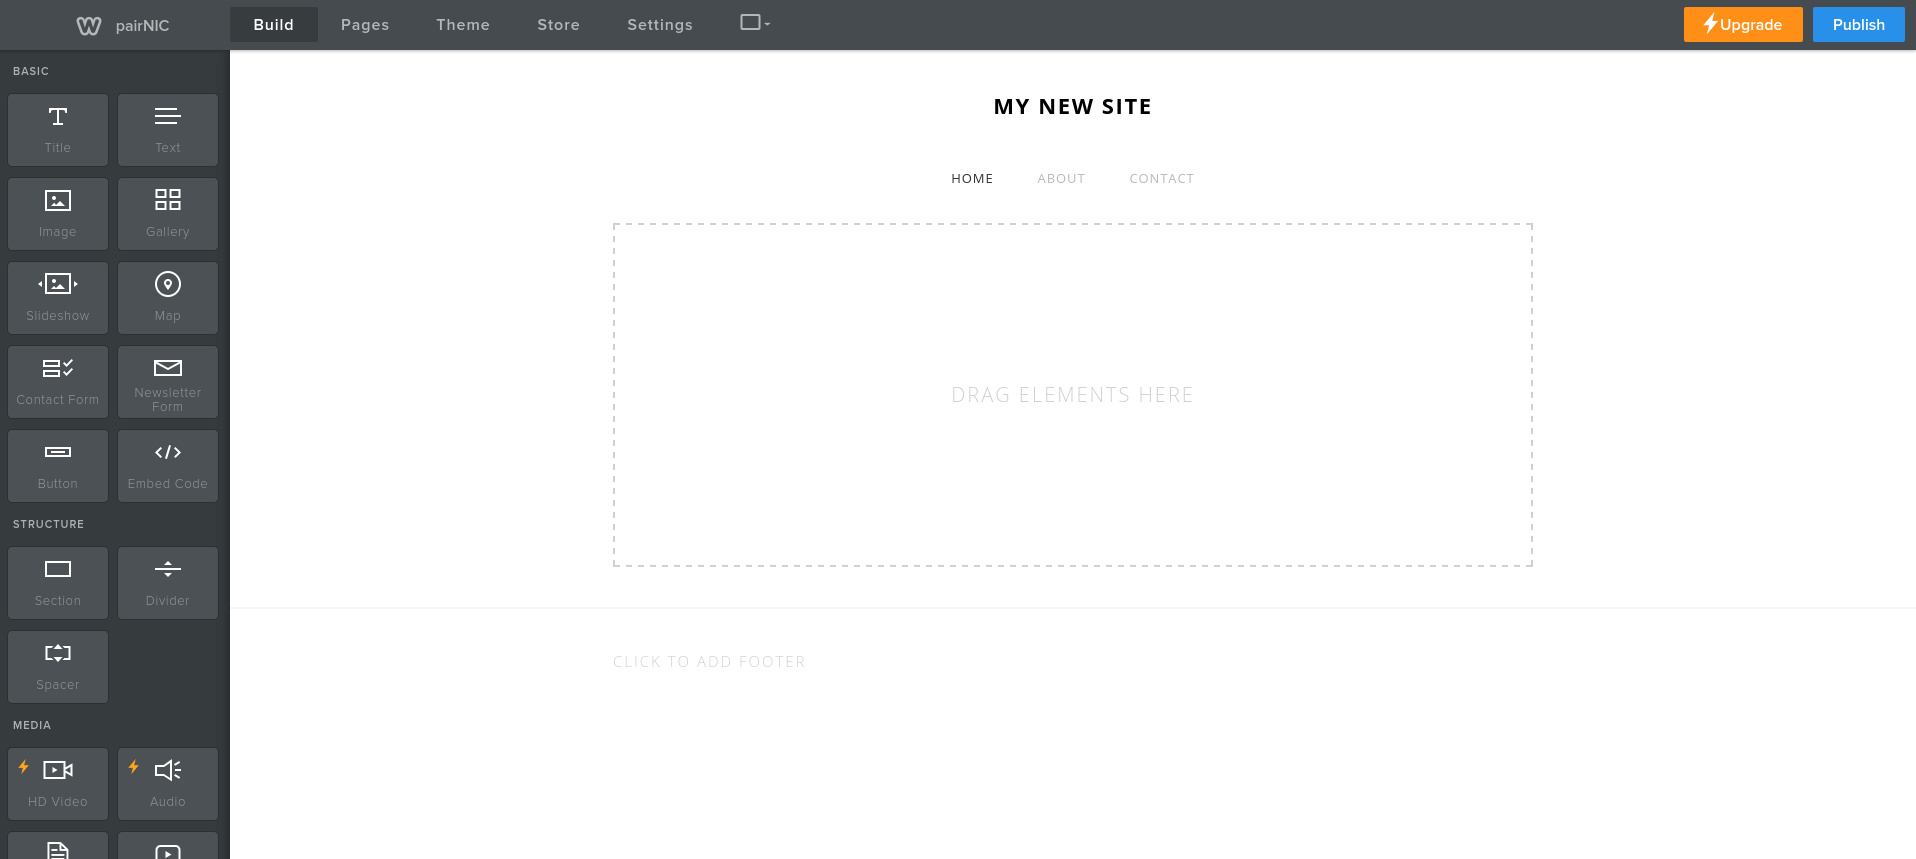
Underneath is the site menu, which lists the pages that make up your site. You can add, delete, or change the menu by clicking the Pages tab from the top menu.
Below the site menu is the content area. To add content, you can drag and drop content from the menu on the left.
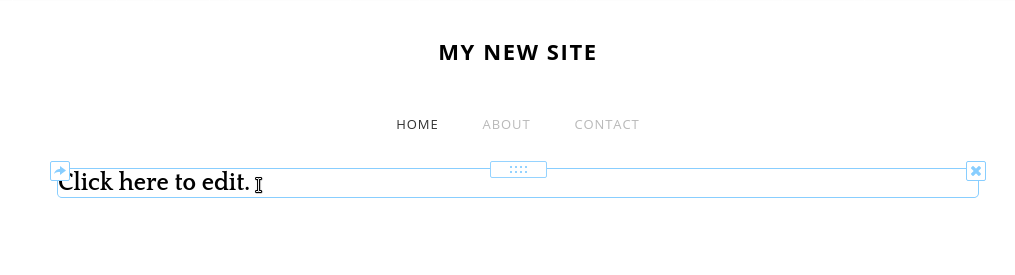
If you want to add text to this section, you can drag the Text button to the highlighted area. You can then enter the text at the cursor. If you want to move the text, you can hover your mouse over the text area to move or delete it.
To edit the text, click the Click here to edit and a cursor will appear. Similar to the title, click outside the area to stop editing it.

To add an image, you can drag Image from the left menu. Then you can click Upload Image to upload from your computer.
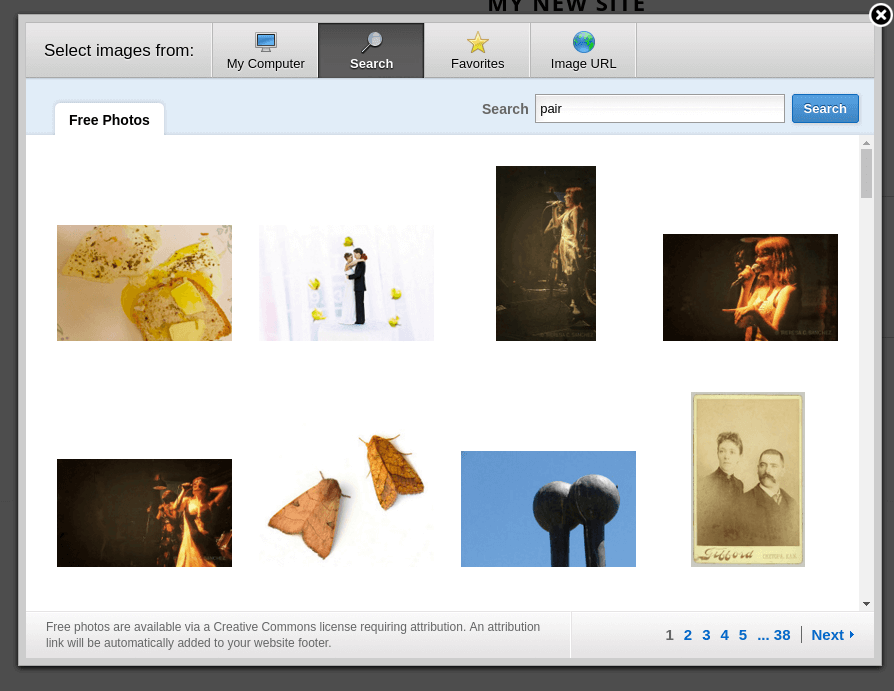
Weebly also provides some stock photos that you can use. To see them, click the Search tab and then search the type of image you are looking for.
If the image is one you may want to reuse on sections of your site, you can hover your mouse over the image, then select Add to Favorites. You can then click on the Favorite tab to access this image more easily.
Finally, if you have already uploaded the image online and know the URL, you can reference it from here. When the site is published, though, the image will be uploaded under the Web space associated with your site.
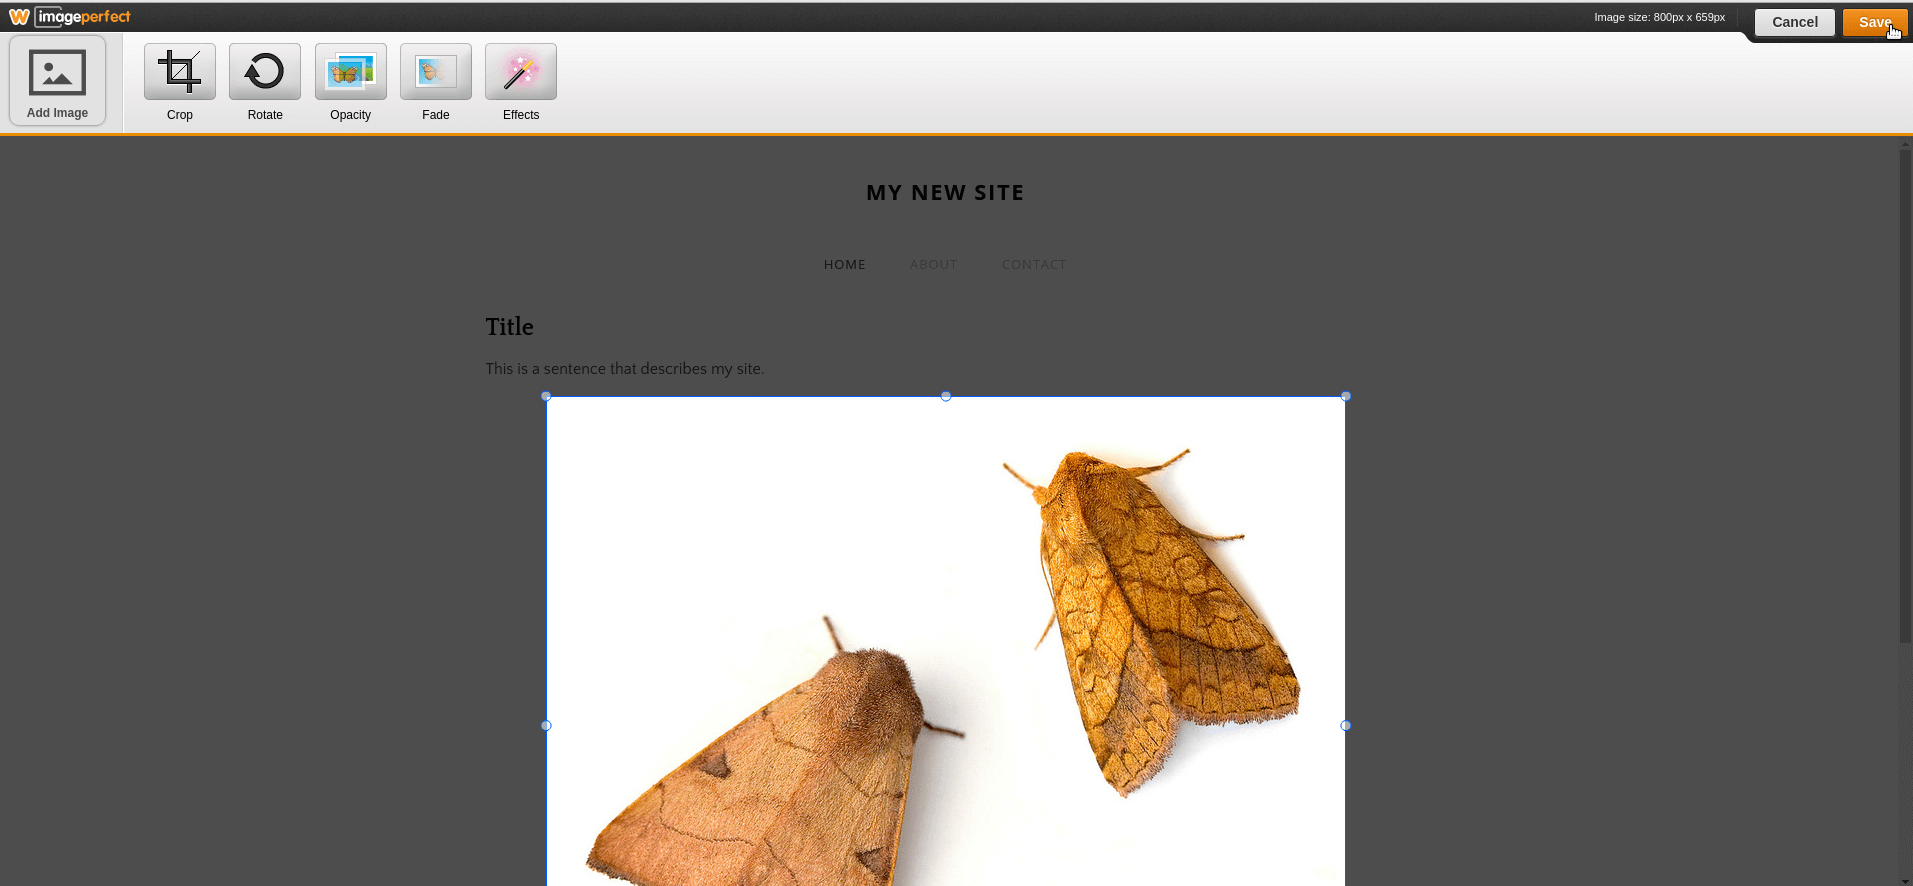
After an image is uploaded or added, you can click it to change attributes. You can click Edit image to crop, rotate, or add image effects.
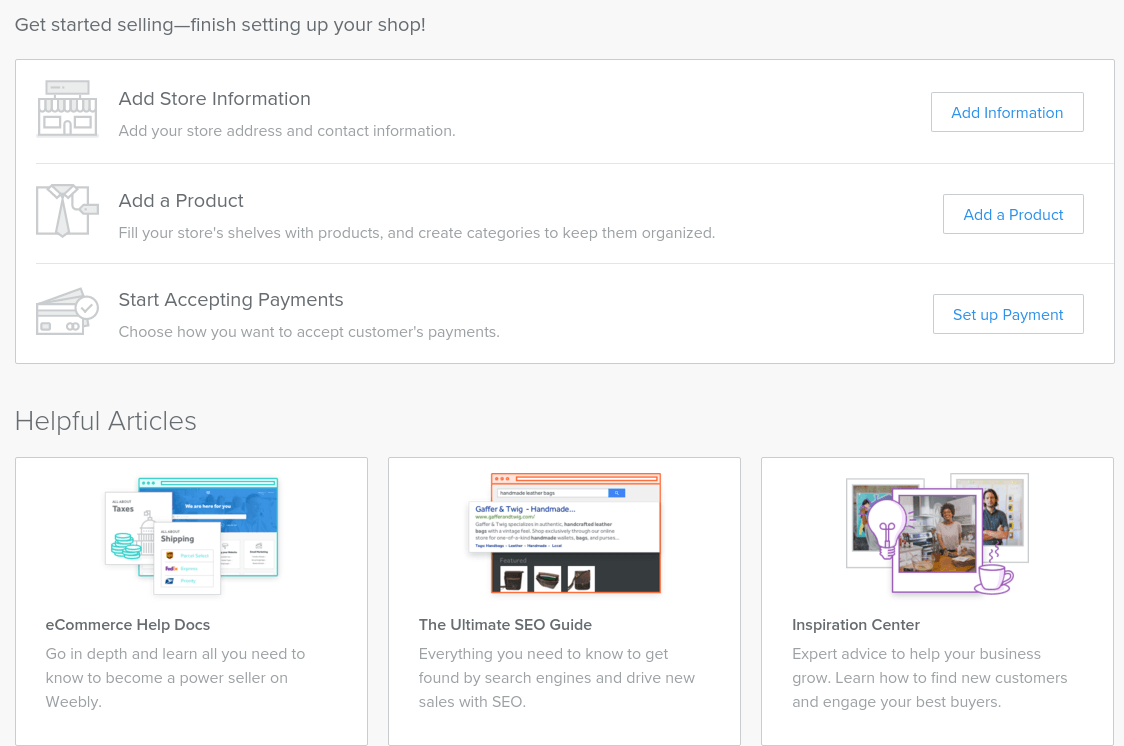
If you need to set up an online store, you can add store information, products, and payment information from the Store tab at the top of the window.
Weebly saves your changes while you work, so you don’t need to click any Save buttons.
When you are ready to publish your site for the first time, you can click Publish. Then return to your Pair Domains account and view the Weebly Site Settings page for your domain. Select Activate from the Status menu, and click Save. You will see a warning message noting that name servers for your domain will change. If you never set up name servers for it, you don’t need to worry about this. However, if you previously had web hosting or email set up for your domain, please contact us so we can help to make sure your email doesn’t stop working when you Activate the site.
After you Activate the site, the Weebly site will be live. If you make future changes in Weebly, then you can click Publish in the Weebly Site Builder or Re-publish Site in our Weebly Site Settings page.